Step-by-Step Guide: Use ViiTor AI Voice Cloning to Easily Create Short Video Voiceovers
But not everyone has the setup or skills to record high-quality audio themselves, let alone voice multiple characters in one video.
So, is there a solution that’s both natural and efficient?
This guide walks you through the entire process step by step—from voice collection and cloning to final voiceover application. Even if you're starting from scratch, you’ll be able to handle it with ease.

Voice Cloning Process
- Prepare Your Audio Choose a clean, clear audio or video clip between 3–15 seconds long. You can also record your own voice directly, just make sure the sound quality is good!
- Visit the Official Website Open your browser and go to https://www.viitor.com/zh/workbench/voice-library. Sign up and log into your account.
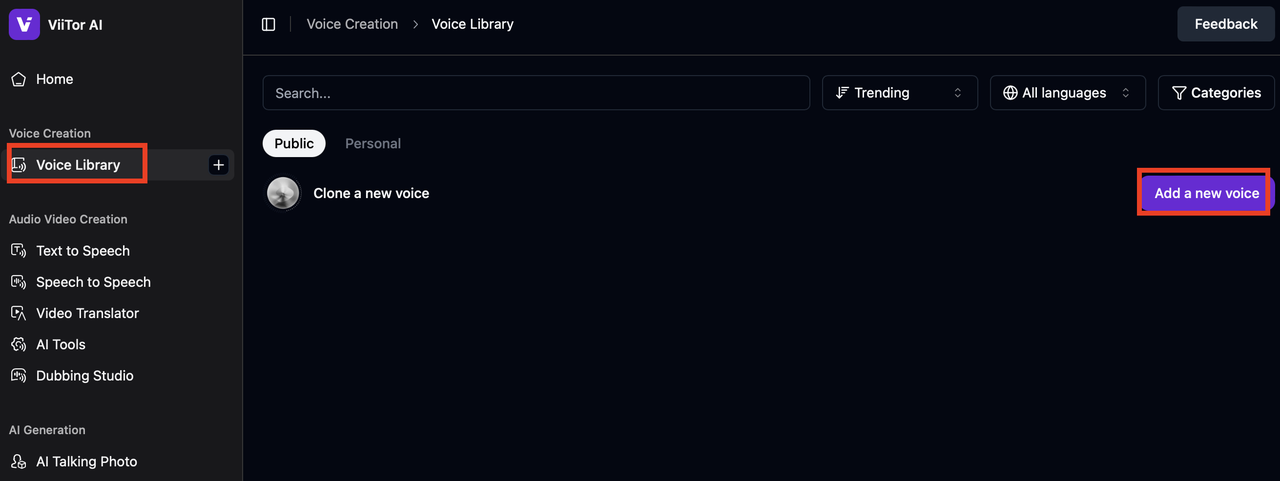
- Create a Voice Profile Enter the Voice Library section and click “Add a new voice” to begin customizing your own personal voice model.
- Upload or Record Your Voice Follow the on-screen instructions to upload your audio/video file, or simply record directly within the platform. Don’t forget to give your voice profile a name—it’ll help you keep things organized later. Once uploaded, click “Add”, and the system will automatically begin building your custom voice model!

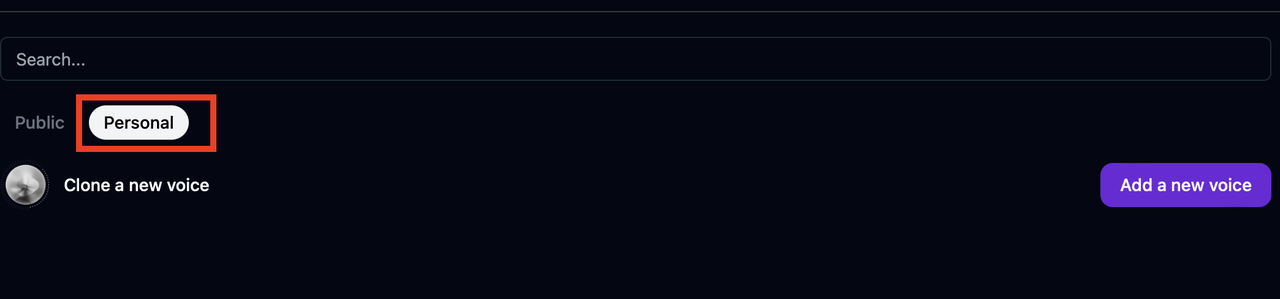
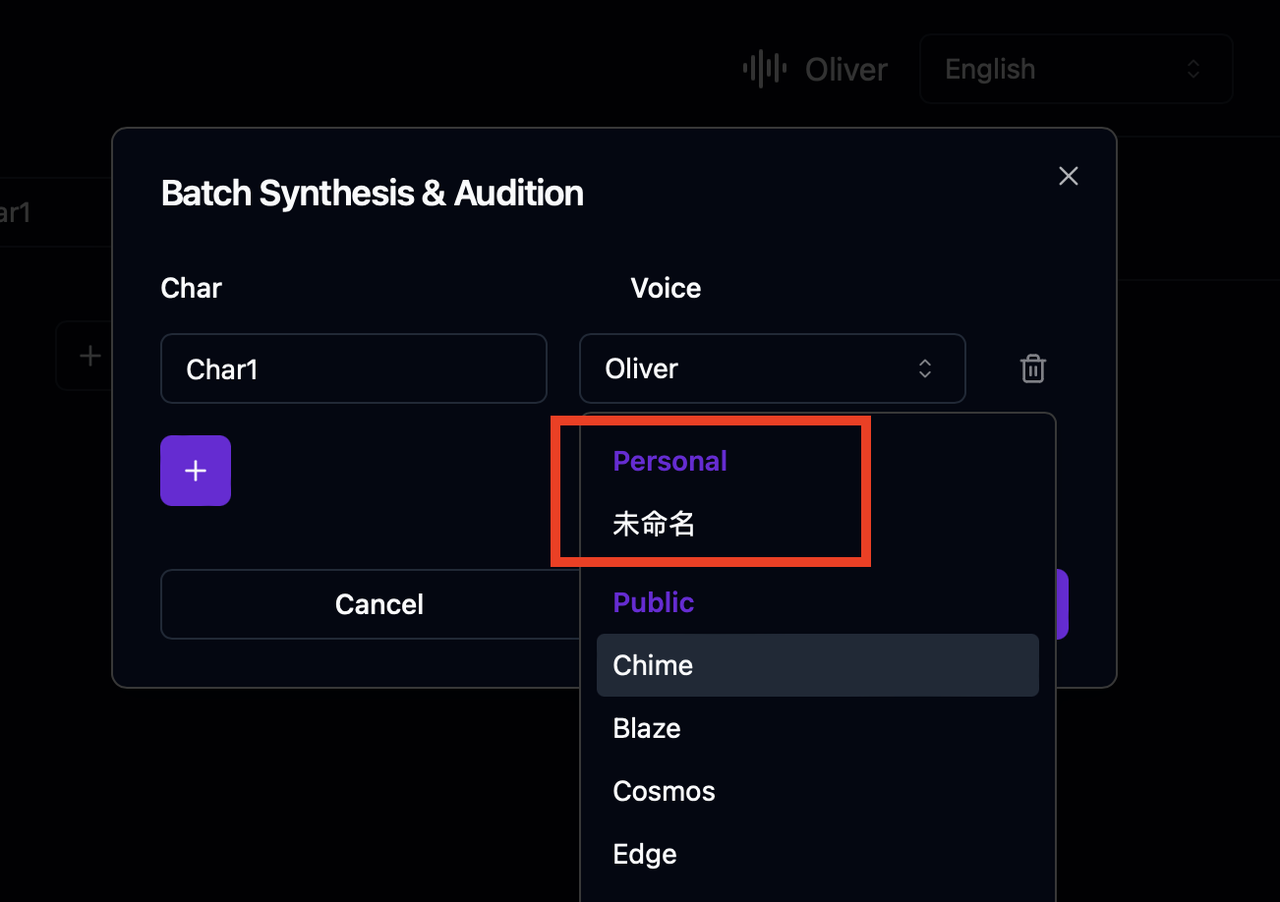
- Cloning Complete – Ready to Use Anytime Once the synthesis is done, your custom voice will appear in the “Personal” section of the Voice Library. From now on, you can select it anytime for voiceovers—just one click to generate, fast and easy!
Create Your Voiceover
Once your voice has been successfully cloned, it’s time to move on to the voiceover process—just as simple and intuitive:
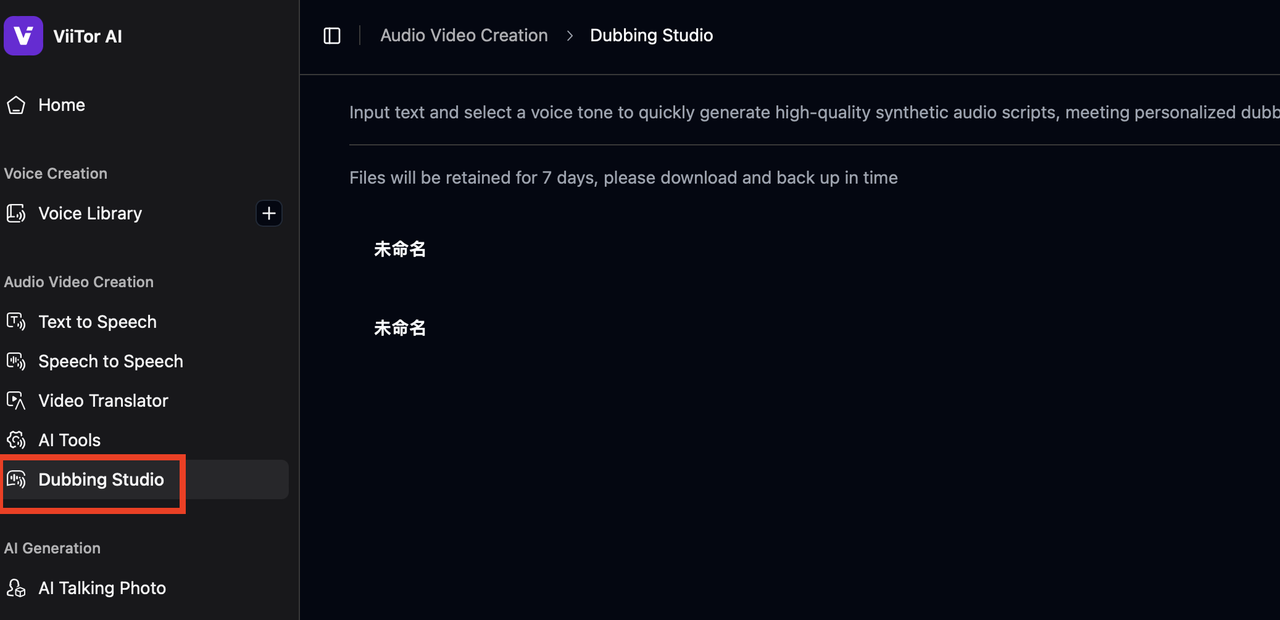
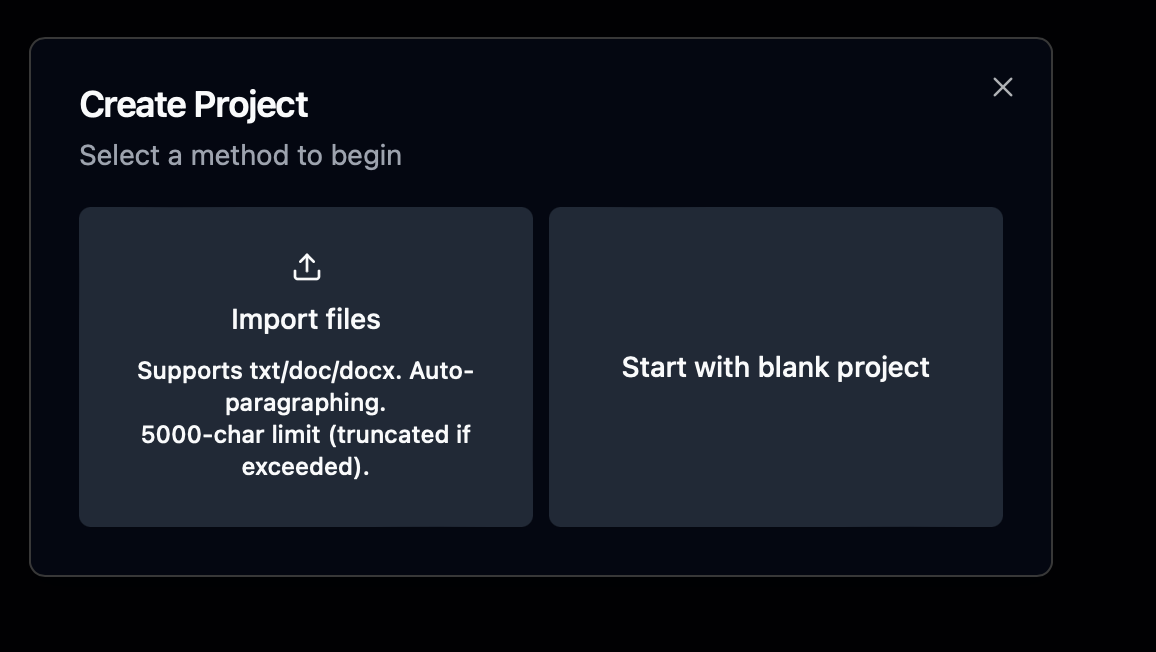
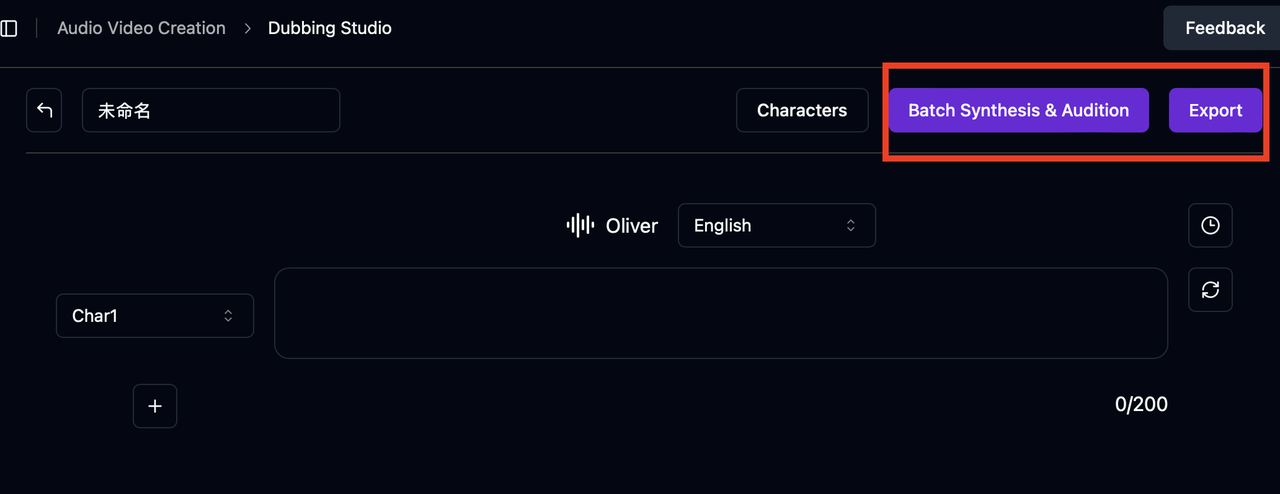
- Enter the Dubbing Studio After logging in, click on “Dubbing Studio” in the left-hand menu, then create a new project to get started.
- Enter Your Script You can upload a pre-written script file, or simply paste or type your voiceover text directly into the blank input box.
- Set Up Speaker and Voice Click “Add New Char” and select the voice you want to use—your newly cloned voice will be available here and ready to go!
- Preview & Export Audio Click to preview your voiceover—once you’re happy with the tone and pacing, simply export the audio file with one click and drop it right into your video!
That’s it for today’s walkthrough on voice cloning and voiceover creation!
Even a simple line of text can feel more personal and expressive when spoken in your own voice. If you’re looking to add more warmth and character to your content, give this voice cloning + voiceover combo a try—you might be surprised by how much it elevates your videos!